Appearance
Download VM Templates
Templates are premade images, which Convoy duplicate and create VMs off. With Convoy Downloader, you can automatically download a variety of templates, so you do not need to bother with creating them.
Download the script
You can grab the script by running following command on your Proxmox node (via SSH or in the web terminal)
sh
wget https://github.com/ConvoyPanel/downloader/releases/latest/download/downloader_x86After getting the downloader, you need to give it rights to execute. Do this with the following command:
sh
chmod +x downloader_x86Now, you are ready to run the downloader and install the templates to your Proxmox node. To run the downloader, execute following command:
sh
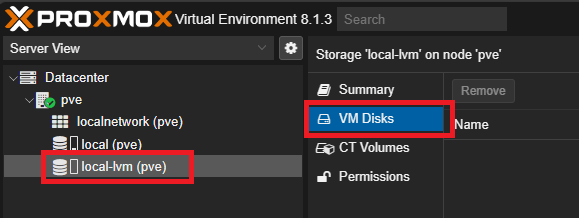
./downloader_x86You will be prompted to input the Storage Volume: This is the name of the volume, where your template servers will be saved to.
Tip
Make sure, that your selected location is configured to store VM Disks. Otherwise, the templates will not install correctly.

You have now installed all templates onto your Proxmox node.
Adding templates to Convoy
After you have added a node into Convoy (Adding a Node), you can import the templates to Convoy. Navigate to the Admin area -> Nodes and select your node. Then click on "Templates". You can now create a "Template Group"
Tip
This template group name will be displayed, when clients want to reinstall their servers. Name it clearly!
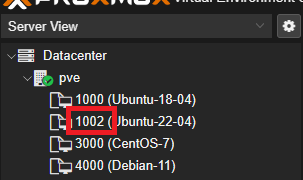
After creating a group, we can add the templates into the group. The Display Name will be the name of the template, which your users will see. The VMID is the server-id (see below) of the template within Proxmox.

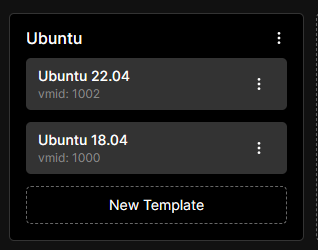
Example Group
In our case, this is how it can look like, if we want to group multiple versions of the same OS together.
